Step 04Image
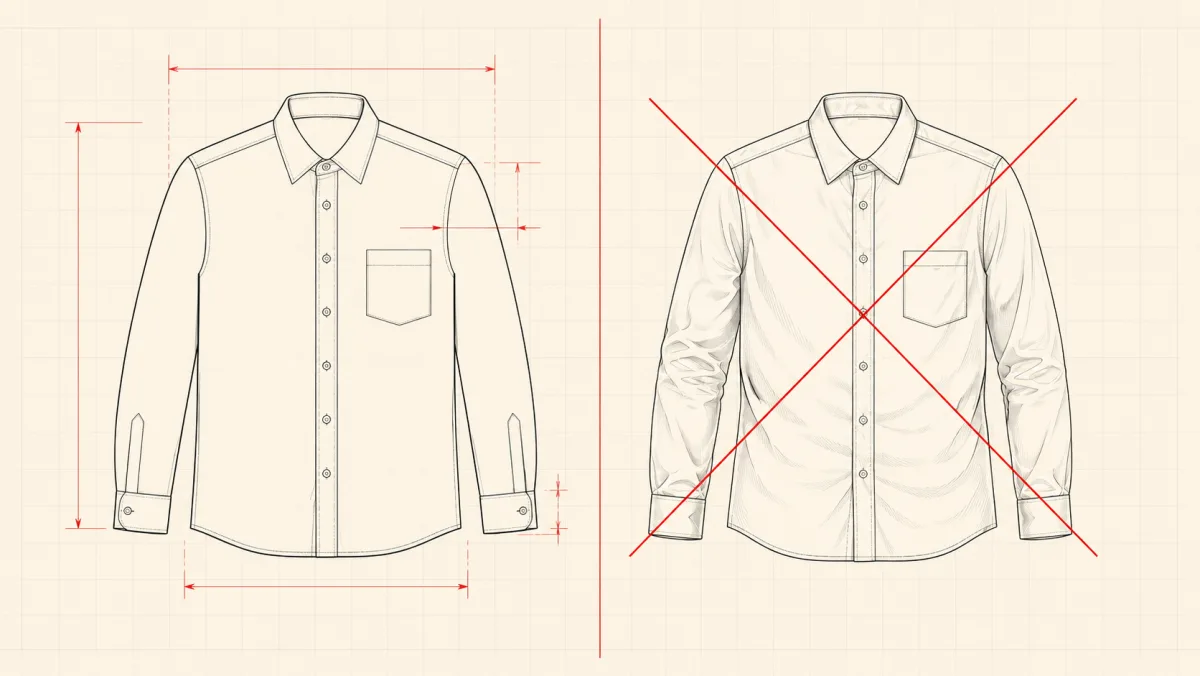
A technical drawing, not a visual
Production rooms read outlines. A rendered image with fabric drape and soft shadow looks better and tells them less, because the construction disappears into the shading.
- Closed outlines, consistent proportion, front and back aligned
- Seam lines solid, stitch runs dashed, in the usual convention
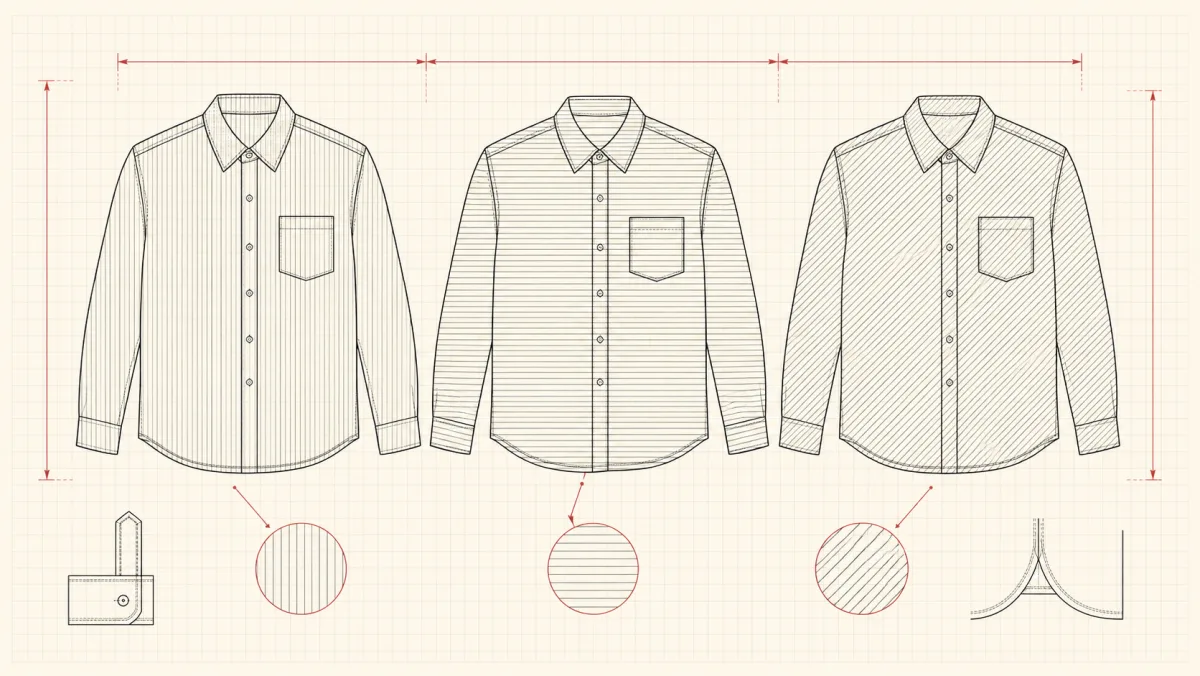
- Detail views at a larger scale for collar, cuff and placket
- SVG vector as well as PNG, so detail survives being zoomed into
- No shading, no gradients, no drop shadow
- No body, no mannequin, no model, no face
- No fabric texture or drape rendering
These constraints are enforced rather than encouraged. A flat carrying shading or a body cannot be saved against a style, so it cannot reach an export.
Front and back, same scale
SVG vector
- Shading
- None
- Body
- None
- Base size
- M
- Formats
- SVG, PNG
01Detail views
Drawn larger where the construction lives
The parts a production room asks about are the parts too small to read at garment scale, so they come out again at their own scale with their own dimensions.
Collar
Cuff
Placket
Seams named by stitch class
“Double stitched” means at least three different things depending on who is reading it. A stitch class does not. Construction notes carry the class alongside the drawing, so the instruction survives the journey.
02Prints and colourways
A repeat is only useful with its unit measured
A printer needs the repeat unit in millimetres and a method the artwork suits. A tiling image on its own does not tell them either.
- Repeat unit
- Given in millimetres, marked on the artwork itself, so it survives being emailed on its own.
- Suggested method
- Screen, digital or rotary, based on the colour count and the detail in the artwork.
- Colour references
- Placeholder references you replace with whatever colour system your supplier works in. We do not tie you to one.
- Colourways
- The same flat repeated with the areas hatched differently, so a three-colour option can be read in black and white.
- Origin
- Generated artwork is recorded as generated with its parameters kept. Uploaded artwork requires you to confirm you hold the rights.
03One more distinction
A render is not a flat
Both have a use. Only one of them belongs in a tech pack, and sending the wrong one is a common and expensive way to start a sampling round.